Ever wanted to build a Betfair bot? This Betfair bot tutorial actively guides you through creating a basic web application using Python and the popular Flask framework to connect to the Betfair API. Consequently, you’ll gain hands-on experience setting up a local Betfair development environment and observing how an automated betting bot interacts with the exchange. Best of all, this entire tutorial utilizes free tools, including Python, Flask, and Betfair’s Delayed API Key! 🥳
Disclaimer: 📝 For Educational & Entertainment Use Only. Please note, this guide and the resulting Python Betfair bot code serve learning purposes exclusively. Specifically, it uses Betfair’s Delayed Application Key, meaning market data arrives delayed and lacks full depth/volume. Therefore, do NOT use this for real trading or financial decisions. Professional trading bots demand live data (which involves costs), sophisticated strategies, robust error handling, and rigorous risk management.
For this project, we’ll build a simple Betfair web app running on your computer. You’ll log in using a manual SSOID Session Token (ideal for local testing) and then make basic API calls to check your balance and fetch upcoming Betfair markets. Let’s get started! 🚀
What You’ll Build
At the end of this tutorial, you’ll have a simple web page running on your computer (localhost). You’ll be able to:
- Log in securely using your Betfair Session Token (pasted manually).
- View your connection status.
- Select a sport from a dropdown menu.
- Fetch a list of upcoming markets for that sport, displayed as raw data (JSON) in a new browser tab.
- Check your Betfair account balance via an API call.
This project forms the essential foundation before moving on to live data streaming or complex strategies.
Prerequisites: Free Tools for Your Betfair Bot
Before diving in, make sure you gather these essential (and free!) tools and credentials:
- Python 3: The core programming language. Download it directly from the official Python website.
- Betfair Account: You need an account to access the API. Register for free on the Betfair website.
- Betfair Delayed Application Key: A unique key identifying your bot. Generate one for free using the steps below.
- Betfair SSOID Session Token: A temporary key proving you’re logged in. Learn how to grab this manually from your browser’s cookies by following Betfair’s guide on how to get a sessionToken (use Method 2). You’ll need your browser’s developer tools (usually opened by pressing F12).
- pip: Python’s package installer (comes included with Python).
Step 1: Setting Up Your Python Project
First, create a dedicated folder for your code and install the core libraries.
- Create Folder: Make a new folder named
betfair_web_bot. - Open Terminal: Next, navigate into this
betfair_web_botfolder using your command prompt or terminal. - Virtual Environment: Isolate project dependencies (highly recommended):Bash
python -m venv venv venv\Scripts\activate # Windows # source venv/bin/activate # Mac/Linux - Install Libraries: Now, use pip to install Flask, betfairlightweight, requests, and python-dotenv:Bash
python -m pip install Flask betfairlightweight requests python-dotenv - Create
templatesFolder: Insidebetfair_web_bot, create a new folder namedtemplates. Flask automatically looks here for HTML files.
Step 2: Getting Your Free Betfair API Key
Your bot needs an Application Key (App Key) to talk to the Betfair API. For this educational project, we’ll generate the free Delayed Key.
How to Generate Your Key:
- Log In: First, log into your account on the main Betfair website.
- Open API Visualiser: Then, go to the Betfair API-NG Account Operations Visualiser, which is part of the Betfair Developer Program. Your Session Token should automatically appear if you’re logged in.
- Select
createDeveloperAppKeys: Click this operation listed on the left side. - Enter App Name: In the “Request” box, type a unique name for your application (e.g.,
FlaskBotTest_YourName). - Execute: Click the “Execute” button at the bottom.
- Copy Delayed Key: Finally, in the “Response” box on the right, find the key under
Version – 1.0-DELAY. Copy theApplication Keyvalue (a long string). This is your Delayed App Key.
Important: Keep this key secure, as you’ll add it to your code next.
Step 3: Configuring Your Keys (.env file)
To keep sensitive keys separate from your main code (a good practice!), create a configuration file.
- Create
.envFile: In your mainbetfair_web_botfolder, create a file named exactly.env(note the leading dot). - Add Keys: Paste the following into the
.envfile. Crucially, replace the placeholders with your actual App Key and generate a unique, random string for the Flask secret:Code snippet# .env file BETFAIR_APP_KEY=YOUR_DELAYED_APP_KEY_HERE FLASK_SECRET_KEY=generate_a_strong_random_string_here_for_sessions(Remember to replaceYOUR_DELAYED_APP_KEY_HEREwith the key you just copied!)
Step 4: Creating the Backend Logic (web_worker.py)
This Python file defines the BetfairWorker class, which handles all communication with the Betfair API.
Create web_worker.py and add this code:
Python
# web_worker.py
import betfairlightweight
import requests
from betfairlightweight import filters
from datetime import datetime, timedelta, timezone

class BetfairWorker:
    """Handles login & static Betfair API calls for the web service."""
    initial_lay_price = 0.0 # Placeholder for future strategies

    def __init__(self, app_key):
        self.app_key = app_key
        self.username = None
        # Initialize the APIClient immediately for better stability
        self.client = betfairlightweight.APIClient(
            username="PLACEHOLDER",
            password="FAKE_PASSWORD",
            app_key=self.app_key,
            certs="/FAKE/PATH" # Path is irrelevant for token login
        )

    def start_token_login(self, username, token, app_key):
        """Validates a manually provided Betfair SSOID Session Token."""
        self.username = username
        try:
            # Client object already exists, so just set the token
            self.client.username = self.username
            self.client.session_token = token
            # Now, test the session's validity
            keep_alive_response = self.client.keep_alive()
            if keep_alive_response.status == 'SUCCESS':
                print(f"[{datetime.now()}] Token validated successfully.")
                # Return success status and the token
                return {'status': 'SUCCESS', 'token': self.client.session_token}
            else:
                # If validation fails, log it and clear the invalid token
                print(f"[{datetime.now()}] Token validation failed: {keep_alive_response.status}")
                self.client.session_token = None
                return {'status': 'FAILURE', 'error': f"Token validation failed. Status: {keep_alive_response.status}"}
        except Exception as e:
            # Handle any unexpected errors during login
            print(f"[{datetime.now()}] Error during token login: {e}")
            self.client.session_token = None
            return {'status': 'FAILURE', 'error': f"General Error during token login: {e}"}

    def fetch_events_and_markets(self, event_type_id):
        """Retrieves upcoming Betfair markets (next 24 hours) for a given sport ID."""
        # First, check if the client is logged in
        if not self.client or not self.client.session_token:
            return {'status': 'ERROR', 'message': 'Not logged in.'}

        market_code = [] # Fetch all market types to increase results
        # Set up a time filter for the next 24 hours
        now = datetime.now(timezone.utc)
        tomorrow = now + timedelta(days=1)
        time_filter = {'from': now.strftime("%Y-%m-%dT%H:%M:%SZ"), 'to': tomorrow.strftime("%Y-%m-%dT%H:%M:%SZ")}

        try:
            print(f"[{datetime.now()}] Fetching markets for Event ID: {event_type_id}...")
            # Create the filter for the API call
            market_filter = filters.market_filter(
                event_type_ids=[event_type_id], market_type_codes=market_code,
                market_start_time=time_filter
            )
            # Specify the data fields we want back
            market_projection = ['EVENT', 'EVENT_TYPE', 'COMPETITION', 'MARKET_START_TIME', 'RUNNER_DESCRIPTION']
            # Make the API call to get the market catalogue
            market_catalogues = self.client.betting.list_market_catalogue(
                filter=market_filter, market_projection=market_projection,
                max_results=500 # Request up to 500 markets
            )
            print(f"[{datetime.now()}] Found {len(market_catalogues)} potential markets.")

            # Convert the complex Betfair objects into a simpler JSON-friendly list
            market_data = []
            for m in market_catalogues:
                 market_info = {
                    'market_id': m.market_id,
                    'event_name': m.event.name if m.event else "N/A",
                    'market_name': m.market_name,
                    'start_time': m.market_start_time.isoformat() if m.market_start_time else "N/A",
                    'runners': [{'id': r.selection_id, 'name': r.runner_name} for r in m.runners] if m.runners else []
                 }
                 market_data.append(market_info)
            # Return the processed data
            return {'status': 'SUCCESS', 'markets': market_data}
        except Exception as e:
            # Handle errors during the market fetch
            print(f"[{datetime.now()}] Error fetching markets: {e}")
            return {'status': 'ERROR', 'message': f"Error fetching markets: {e}"}

    # In the future, you'll add methods here for placing bets, scanning markets, etc.
Step 5: Creating the HTML Template (templates/index.html)
This file defines the basic structure and appearance of your bot’s web page. Flask will load this file from the templates folder.
Create a file named index.html inside the templates folder and add this code:
HTML
<!DOCTYPE html>
<html>
<head>
    <title>Python Betfair Bot (Flask)</title>
    <style>
        body { font-family: sans-serif; margin: 20px; line-height: 1.6; }
        h1, h3 { color: #333; }
        hr { border: 0; height: 1px; background: #ddd; margin: 20px 0; }
        input[type="text"] { padding: 8px; border: 1px solid #ccc; border-radius: 4px; }
        input[type="submit"], button { padding: 8px 15px; background-color: #007bff; color: white; border: none; border-radius: 4px; cursor: pointer; }
        button:hover { background-color: #0056b3; }
        #api-links a { margin-right: 15px; text-decoration: none; color: #007bff; }
        #api-links a:hover { text-decoration: underline; }
        #fetch-status { color: #555; font-style: italic; display: none; margin-left: 10px;}
    </style>
</head>
<body>
    <h1>Basic Betfair Bot Web Interface</h1>
    <p><b>Status:</b> {{ 'Logged In' if info.logged_in else status_message }}</p>
    <p><b>Session Token:</b> {{ info.token }}</p>

    <form method="POST" action="{{ url_for('index') }}">
        <h3>1. Manual Login (SSOID Token)</h3>
        <input type="text" name="ssoid_token" placeholder="Paste Betfair SSOID Token Here" size="50">
        <input type="submit" value="Inject Token">
    </form>
    <hr>

    {% if info.logged_in %}
    <h3>2. Fetch Betfair Markets</h3>
    <label for="sport-select">Select Sport:</label>
    <select id="sport-select" name="sport_id">
        <option value="">--- Select ---</option>
        {% for sport_id, name in sports_list.items() %}
            <option value="{{ sport_id }}">{{ name }}</option>
        {% endfor %}
    </select>
    <button onclick="fetchManualMarkets()">Fetch Markets</button>
    <span id="fetch-status">Fetching...</span>
    <br><br>

    <div id="api-links">
        <a href="{{ url_for('fetch_funds') }}" target="_blank">3. Check Account Funds (Test API Call)</a>
    </div>
    {% endif %}

    <script>
        function fetchManualMarkets() {
            const selectElement = document.getElementById('sport-select');
            const selectedSportId = selectElement.value;
            const statusElement = document.getElementById('fetch-status');
            if (selectedSportId) {
                statusElement.style.display = 'inline'; // Show "Fetching..." message
                // Open the API endpoint URL in a new tab to show the raw JSON market data
                window.open(`/api/markets?event_type_id=${selectedSportId}`, '_blank');
                // Optionally hide "Fetching..." after a moment
                setTimeout(() => { statusElement.style.display = 'none'; }, 2000);
            } else {
                alert('Please select a sport.');
            }
        }
    </script>
</body>
</html>
Step 6: Building the Flask Web Server (app.py)
This Python script uses the Flask framework (Flask website) to run your server, load configuration from the .env file, handle browser requests, and render the index.html template.
Create app.py in your main project folder and add this code:
Python
# app.py
from flask import Flask, redirect, url_for, request, jsonify, render_template # <-- Updated import
import os
from datetime import datetime
from dotenv import load_dotenv # <-- Added import

# Load environment variables from .env file at the start
load_dotenv()

# Import your core logic
from web_worker import BetfairWorker

# --- CONFIGURATION ---
# Loads from .env file or uses the placeholder
APP_KEY = os.getenv("BETFAIR_APP_KEY", "YOUR_DELAYED_APP_KEY_HERE")
SECRET_KEY = os.getenv("FLASK_SECRET_KEY", "default_secret_please_change") # Load secret key

# Static list of Sports for dropdown
STATIC_SPORTS = {
    "1": "Football (Soccer)", "2": "Tennis", "3": "Golf",
    "4": "Cricket", "7": "Horse Racing", "4339": "Greyhound Racing"
}
# --- END CONFIGURATION ---

app = Flask(__name__) # Flask automatically finds the 'templates' folder
app.config['SECRET_KEY'] = SECRET_KEY

# Initialize the worker globally using the loaded App Key
global_worker = BetfairWorker(APP_KEY)

# --- HELPER FUNCTION ---
def get_status_info():
    """Safely get login status for template."""
    client = global_worker.client
    logged_in = client and client.session_token is not None
    token_display = client.session_token[:10] + '...' if logged_in else 'N/A'
    return {"logged_in": logged_in, "token": token_display}

# --- WEB ROUTES (Endpoints) ---
@app.route('/', methods=['GET', 'POST'])
def index():
    """Renders the home page (index.html) and handles SSOID token injection."""
    global global_worker
    info = get_status_info()
    status_message = "Ready. Please enter your Betfair SSOID token."

    if request.method == 'POST':
        submitted_token = request.form.get('ssoid_token')
        if submitted_token:
            print(f"[{datetime.now()}] Received token submission.")
            # Attempt to validate the token using the worker
            validation_result = global_worker.start_token_login("WebAppUser", submitted_token, APP_KEY)
            # Update status based on validation result
            if validation_result['status'] == 'SUCCESS':
                info = get_status_info()
                status_message = "Token Injected & Validated! Ready for API calls."
            else:
                info = get_status_info()
                status_message = f"Token Injection FAILED: {validation_result.get('error', 'Unknown Error')}"

    # Use render_template to load and display the index.html file
    return render_template("index.html", info=info, status_message=status_message, sports_list=STATIC_SPORTS)

# --- API ENDPOINTS (Called by UI or other services) ---
@app.route('/api/funds')
def fetch_funds():
    """API endpoint to get Betfair account funds."""
    # Ensure user is logged in before proceeding
    if not global_worker.client or not global_t.session_token:
        return jsonify({"status": "ERROR", "message": "User not logged in."}), 401
    try:
        print(f"[{datetime.now()}] Request received for /api/funds")
        # Call the Betfair API via the client object
        funds = global_worker.client.account.get_account_funds()
        print(f"[{datetime.now()}] Funds retrieved successfully.")
        # Return the balance as JSON
        return jsonify({"status": "SUCCESS", "available_to_bet": funds.available_to_bet_balance})
    except Exception as e:
        # Handle potential API errors
        print(f"[{datetime.now()}] Error in /api/funds: {e}")
        return jsonify({"status": "ERROR", "message": f"Betfair API Error: {e}"}), 500

@app.route('/api/markets')
def fetch_market_data():
    """API endpoint to fetch Betfair market data based on sport ID."""
    # Ensure user is logged in
    if not global_worker.client or not global_worker.client.session_token:
        return jsonify({"status": "ERROR", "message": "User not logged in."}), 401

    # Get the sport ID from the URL query parameter (?event_type_id=...)
    event_type_id = request.args.get('event_type_id')
    if not event_type_id:
        return jsonify({"status": "ERROR", "message": "event_type_id parameter required."}), 400

    print(f"[{datetime.now()}] Request received for /api/markets?event_type_id={event_type_id}")
    # Call the worker function to fetch markets
    results = global_worker.fetch_events_and_markets(event_type_id)
    print(f"[{datetime.now()}] Market fetch result status: {results.get('status')}")
    # Return the market list (or error) as JSON
    return jsonify(results)

# --- Main Execution ---
if __name__ == '__main__':
    # Startup check for placeholder App Key
    if APP_KEY == "YOUR_DELAYED_APP_KEY_HERE" or not APP_KEY:
        print("\n\n*** WARNING: BETFAIR_APP_KEY is not set correctly in your .env file! ***\n\n")
        # import sys; sys.exit("Exiting: App Key not configured.") # Optional: Force exit

    print(f"Starting Flask server for Betfair Bot...")
    print(f"Worker initialized with APP_KEY ending: ...{APP_KEY[-6:]}")
    # Run the Flask development server locally on http://127.0.0.1:5000
    app.run(debug=True, host='127.0.0.1', port=5000)
Step 7: Running Your Local Betfair Web App
It’s time to run your improved Flask Betfair bot!
- Ensure your virtual environment (
venv) is active in your terminal. - Run the Flask application:Bash
python app.py - Open your web browser and go to
http://127.0.0.1:5000/.
Step 8: Testing the Interface
Next, interact with your Betfair web interface:
- Inject Token: Paste your Betfair SSOID token and click “Inject Token.” The status message should confirm validation.
- Check Funds: Click “Check Account Funds.” A new browser tab should open showing JSON balance data.
- Fetch Markets: Return to the main tab, select a sport (e.g., “Horse Racing”) from the dropdown, then click “Fetch Markets.” You’ll see “Fetching…” appear briefly, and subsequently, a new tab opens showing the JSON list of upcoming markets.
Troubleshooting Common Issues
- Token Expired? Your SSOID token lasts only a few hours. If API calls start failing, simply get a fresh token from your browser cookies and inject it again.
- No Markets Found? The
fetch_events_and_marketscall might return an empty list if no markets match the 24-hour filter for that sport. Try again later or during peak event times. - Firewall Blocks: Ensure your computer’s firewall allows Python to accept connections on port 5000.
venvNot Active? Always activate your virtual environment before runningpython app.pyto ensure the correct libraries are used.
Next Steps & Conclusion
Congratulations! You’ve successfully built a more structured Flask Betfair bot web app running locally using free tools. This version employs better configuration practices (.env) and separates the HTML (templates/index.html), making it a solid foundation.
Remember, this Betfair bot tutorial provides educational insight only. Constructing a professional automated betting bot involves further steps:
- Implement Real-time Streaming: Use Flask-SocketIO (Flask-SocketIO docs) for live price updates.
- Professional Frontend: Develop a user interface with React (react.dev) or Vue.js (vuejs.org).
- Strategy Implementation: Code your specific automated betting strategies and risk management rules.
- Secure Login: Transition to secure certificate-based login (Betfair Docs) for server automation or OAuth for Web Vendors (Betfair Docs) for commercial applications.
- Live Key: Apply for and use Betfair’s Live Application Key (this involves fees and Betfair approval).
- Background Tasks: Utilize task queues like Celery (Celery Project) for reliable background scanning and trading.
- Cloud Deployment: Host on Heroku, PythonAnywhere, AWS, or GCP.
You now have a great starting point for exploring these more advanced topics in the world of automated Betfair bots!

Betfair Bot Reviews: Which One Suits You Best?
Which Automated Betfair bot Trading Software is Right For You? Choosing the best Betfair bot in 2026 can be a…

Betfair Trading Strategies: The Ultimate 2026 Guide to Football Betting Automation
Executive Summary: The Era of the Algorithmic Trader The year 2026 marks a turning point for the Betfair Exchange. The…
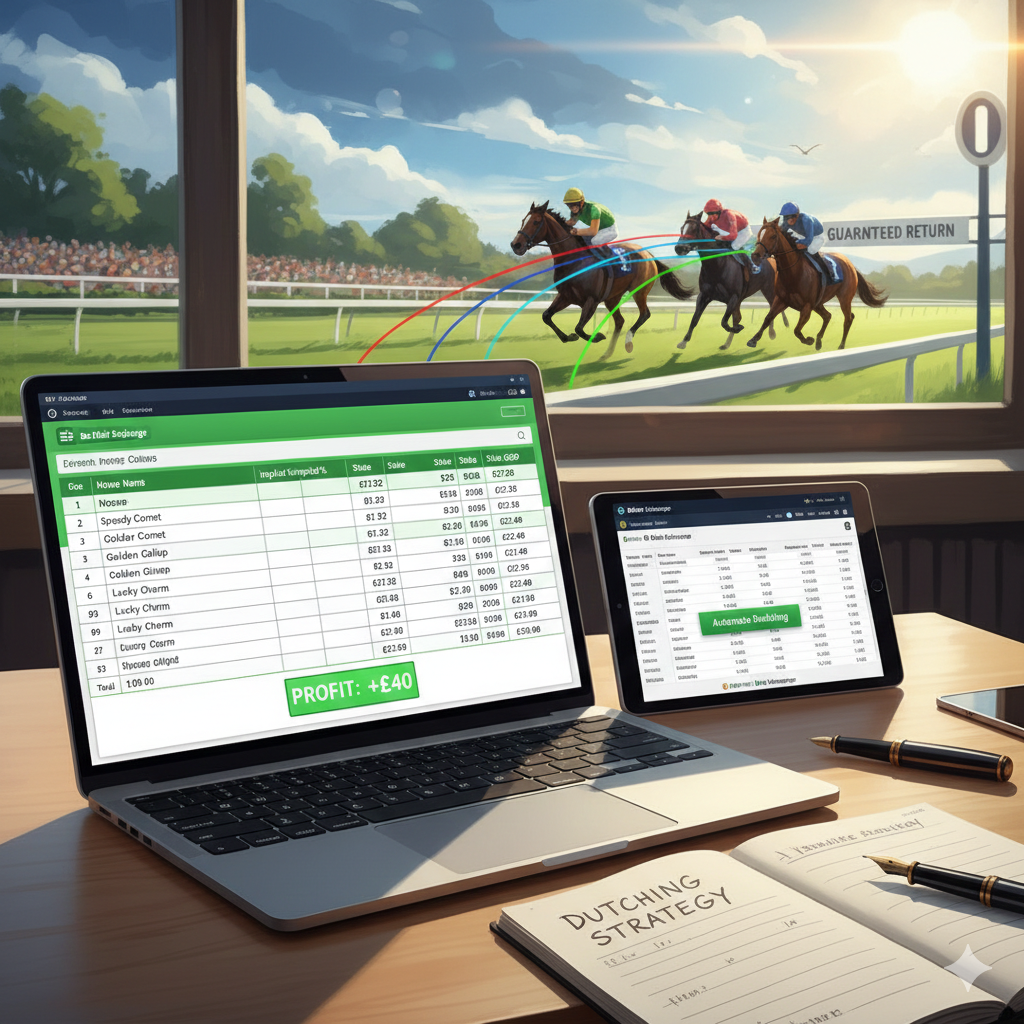
Dutching Betting Strategy Guide (2026): Includes Free Excel Calculator & Automation Tools
We’ve all been there. You stare at the race card, torn between the 3/1 favourite who looks solid and the…

Building a Betfair Bot with Python & AI: Why I Failed (Case Study)
For years, I have obsessed over the Betfair Exchange. I’ve spent countless hours staring at trading ladders on professional software…
The Ultimate Betfair Trading Guide: History, Strategies
Betfair trading is the secret that professional gamblers don’t want you to know. For decades, the game was rigged. You…
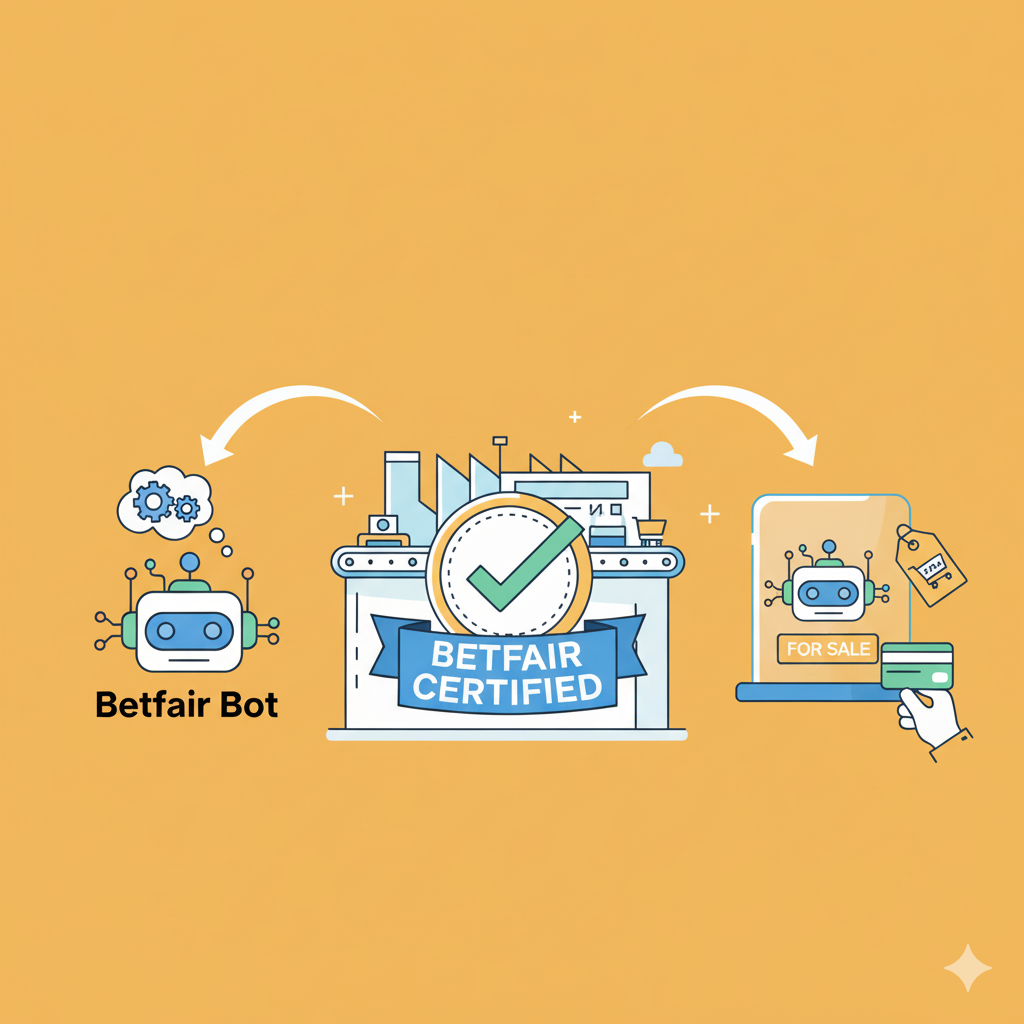
How to Get Your Betfair Bot Certified and Ready to Sell
So, you’ve done it. You’ve spent countless hours coding, testing, and perfecting a Betfair bot. It’s a powerful piece of…
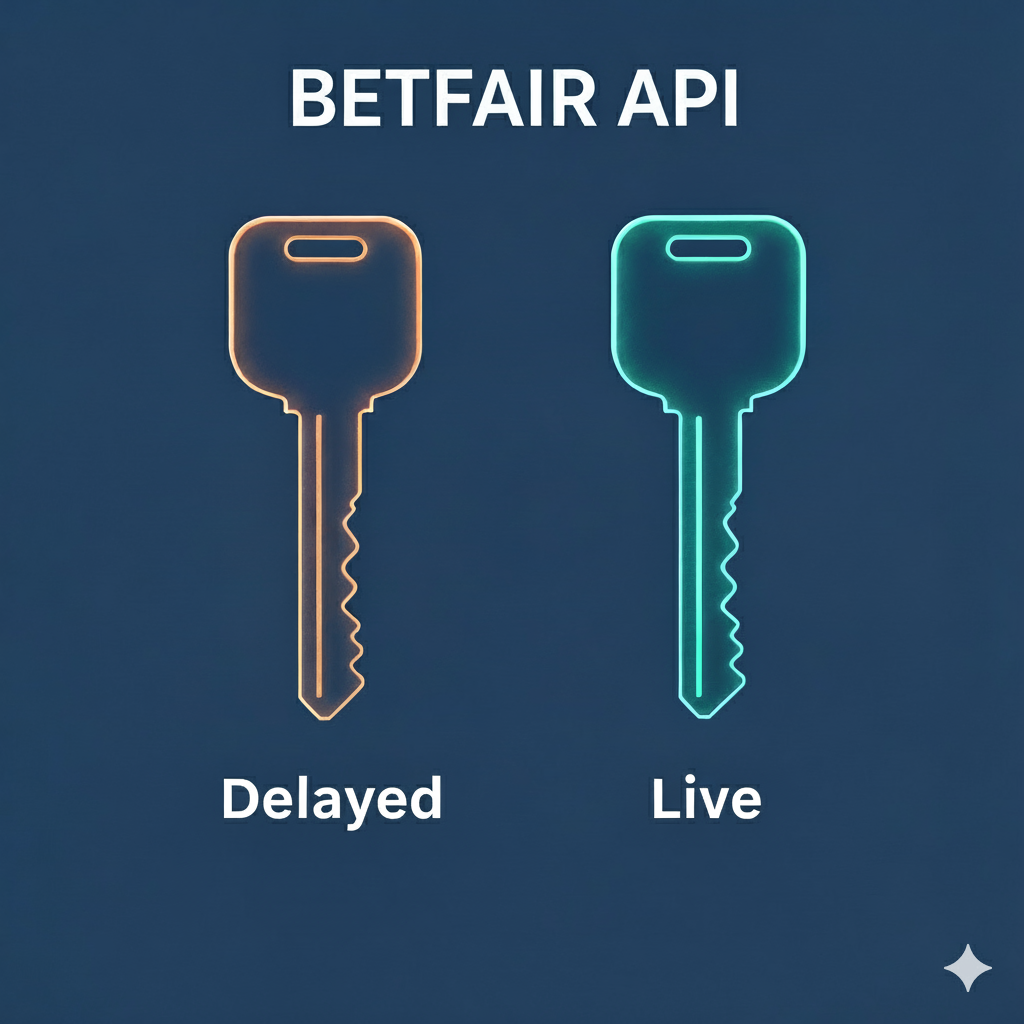
Betfair API Key: Delayed vs. Live Explained (The £299 Cost for Real-Time Trading)
Introduction: The Speed Barrier in Automated Betting If you’re developing a Betfair bot, you’re searching for an edge. That edge…
You’re welcome, there will be more articles in the next weeks, feel free to share.